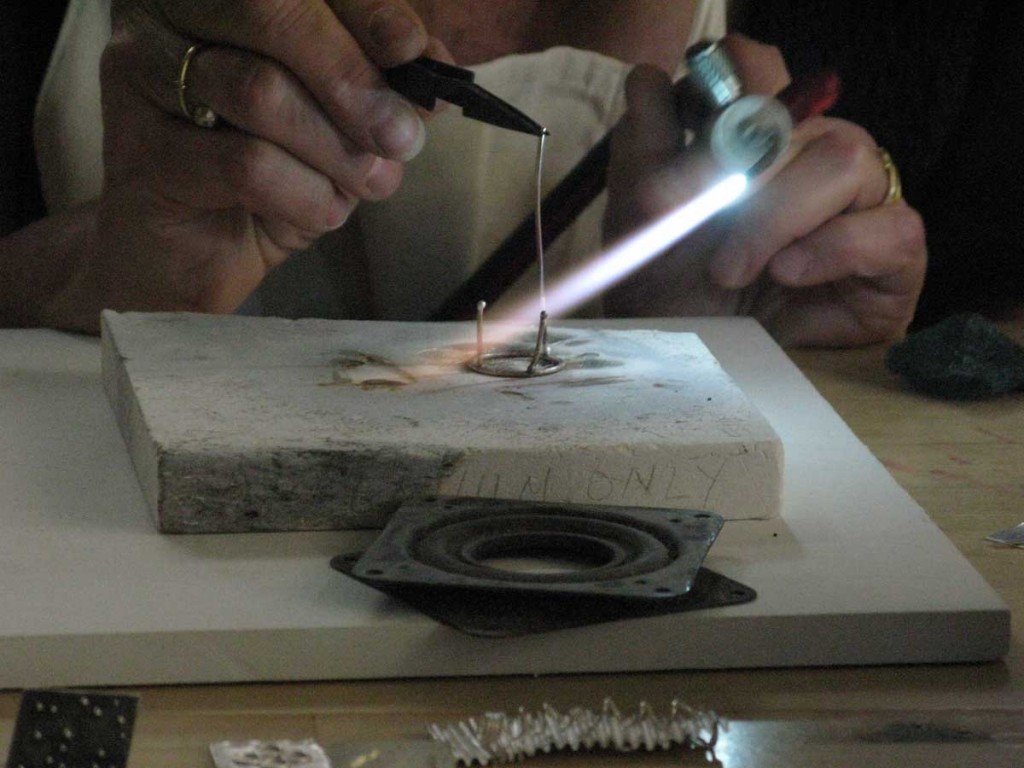
Next stop in Arizona, after a greyhound bus ride across the desert, was Mesa where I was signed up for the SNAG Demo Days.
The Demo Days were at the Mesa Arts Centre, which is a huge arts complex, in what I think was downtown Mesa, but it was hard to tell. All the streets there are really long and really wide and really flat and really hot. Mesa, Phoenix & Scottsdale were all once separate cities but now have converged into one huge urbanised megalopolis where the streets are all dead straight and run for miles.
Anyway so the Mesa Arts Centre has it all: theatres, galleries, worskhops and studios for music, dance, performance, and visual arts. Their jewellery studios are awesome, they had pretty much every kind of tool and machine you could ever want and then more. They run courses and workshops and I think also have bench time access.
So the demonstrations were over two days and were a series of 8 x 1 hour sessions from various artists that were speaking, exhibiting and/or otherwise participating in the conference. Here’s a list of the topics.
Jack da Silva – Metal In Motion
Marilyn da Silva – Colour on Metal
David Huang – Bubbling
Sam Patania – Overlay
David Huang – Patinas
Kevin O’Dwyer – Box Construction for Holloware
Cynthia Eid – Fusing, Granulating & Soldering Argentium Silver
Caitie Sellers – Steel Soldering Techniques
The demos were once again hosted by ADC so I already knew a few people there who’d also been at the workshops in Tucson and didn’t feel like such a loner.
I won’t go into them all except to say that I learned a lot of great technical knowledge, one of the main things being that there are many more ways than just one to skin a cat. Despite what we’re taught at jewellery school, different artists do things in different ways to achieve the same result, and there’s not one way that’s more correct than any other. For example; some makers only use extra hard solder (Caitie Sellers), some only use medium (Jack da Silva, Kevin O’Dwyer), some only use easy (Sam Patania), and some don’t use any (Cynthia Eid) and all of them are highly respected artists with decades of experience who make beautiful and masterfully crafted objects and wearables.
Jack and Marilyn da Silva both gave condensed versions of what we had done in the workshops over the two previous days.
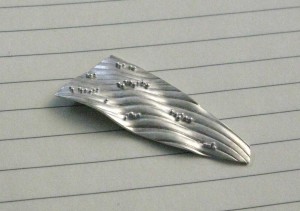
David Huang showed his bubbling technique, which is a process he stumbled upon by accident and looks like this:
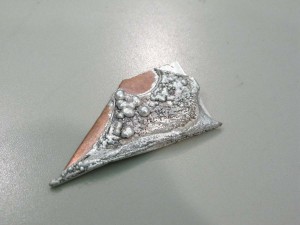
He does it by sweat soldering silver to copper then heating it in a kiln between about 843ºC (1550ºF) and 871ºC (1600ºF) for between 5 and 10 minutes.
I should stop to say a bit about David. David Huang is an amazing artist who makes beautiful vessels. He has lots of pictures of his works on his site but I didn’t appreciate quite how beautiful they are until I got to see them in person for the first time at Velvet da Vinci gallery and then again during the demos. They’re an intimate size, fitting nicely in your hand. The shape of them reminds me of a heart, not the graphic shape, but the organ, rounded and bulbous and tapered at one end. He raises the vessels in copper, silver and Mokume gane. Some are intricately patterned with chasing and repoussé, then they’re patinated and finished with gold leaf on the interior which makes a heavenly glow.
To me, something about being able to hold a piece adds so much to the object’s appeal, maybe that’s why I like jewellery so much. Just the feeling of having a beautiful thing in your hand, that you can feel and explore with your fingertips, palms and thumbs, its really sensory in a way that just looking at art isn’t. I often tend to smell objects as well, just in case, sometimes their smell can tell you things about how and what they’re made of, sometimes they just smell interesting. Of course – disclaimer – you can only hold, touch and smell objects with the express permission of the artist, and having worked in galleries for years, I obviously know why its usually not allowed: fingers are dirty and greasy, people are clumsy, babies put things in their mouths etc. So we were all very fortunate to be able to handle these wonderful artworks to enhance our experience of their beauty.
There was an option to do a workshop with David but I had to choose between the da Silvas and David as they were on concurrently, how I wish I could have done both.
Anyway so the next day in a second demo, David showed his patination techniques with nitrates on copper. This was by far my favourite demo out of all of them. I guess because he showed how to do blue/green patina on copper or copper alloys, which is something I’ve always been interested in but never attempted because I got the impression that it was really difficult. Turns out its not at all.
All of the nitrate patinas were applied using heat and a similar dabbing technique. David heated the metal gently with a torch, then dabbed on the solution and gradually built up the patinas in layers until the desired depth of colour was reached.
Like many things – seeing this process done was so much more instructive than just reading about it, you glean all sorts of tips. For example, David says to use a bushy flame on your torch, and when the solution is dabbed on the metal you should hear a sizzle. Don’t dunk the entire brush in the solution because too much cold liquid will cool the metal, don’t overheat the metal because some patinas can burn off, just wave the end of the flame over the piece.
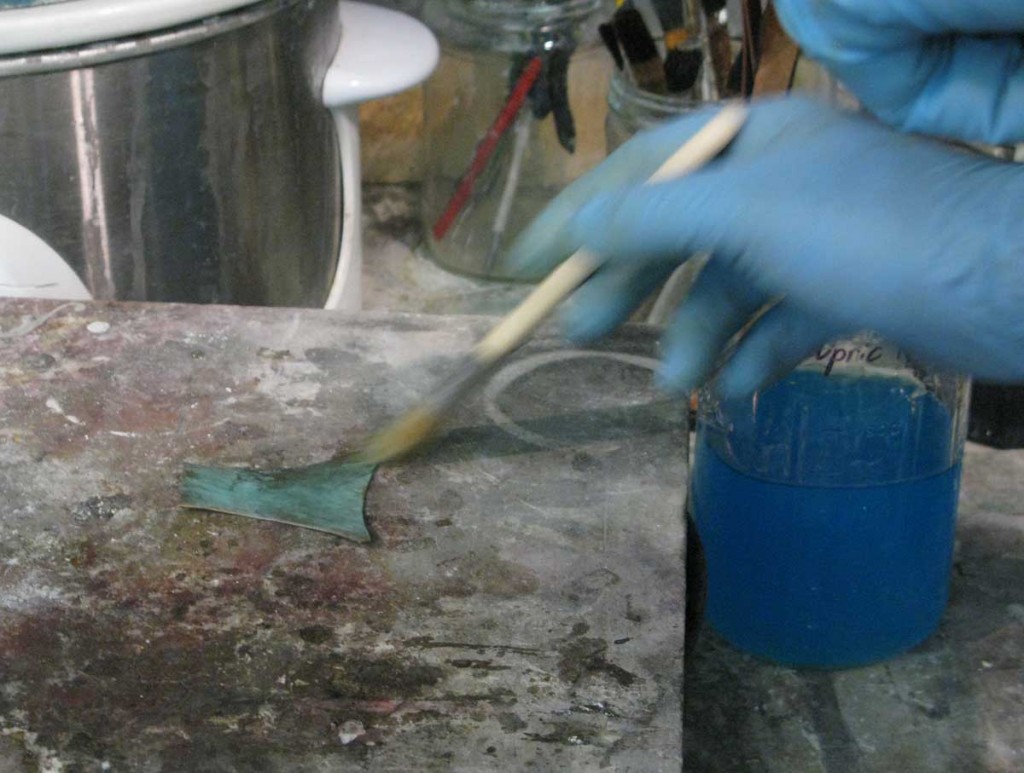
Cupric nitrate is the solution he uses for blue/green patina.
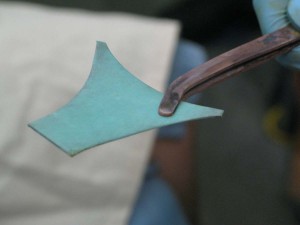
Ferric nitrate will give a deep brown at low temperatures or maroon, red, purple tones at higher temperatures.
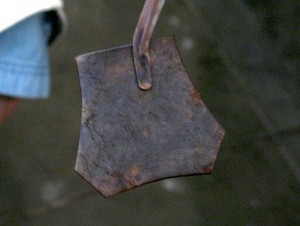
Nitrate solutions work well together and can be layered over each other. This is cupric nitrate with ferric nitrate layered over the top (the pure ferric nitrate sample is at the top in the image below and the brown colour can be seen better).
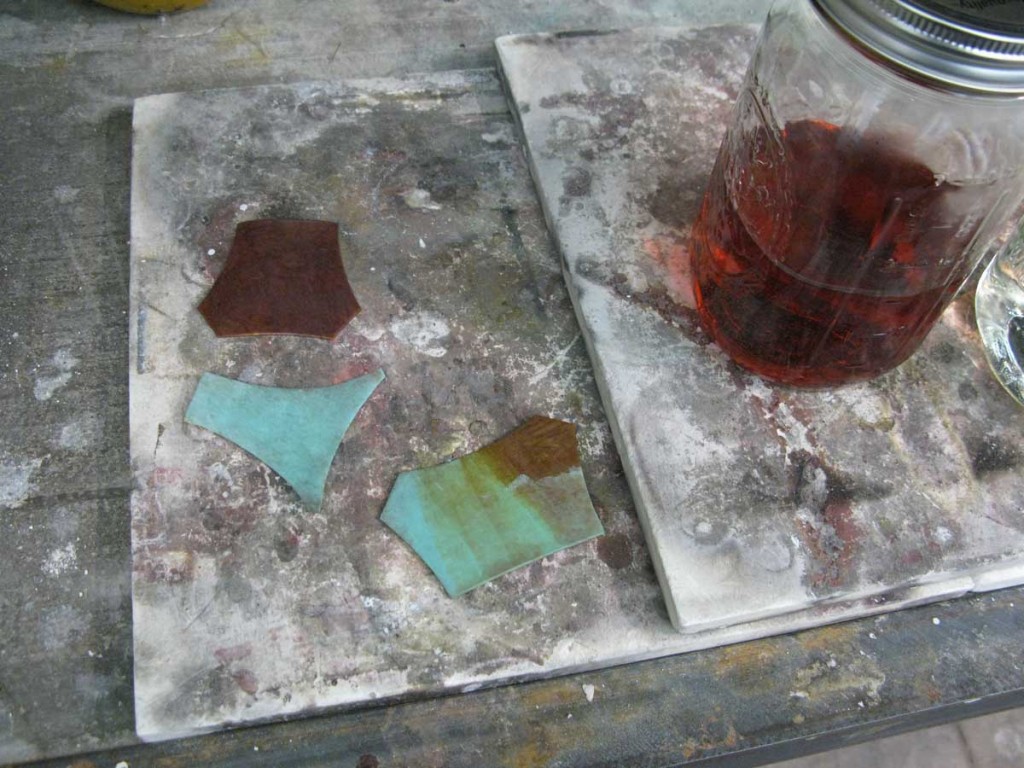
Some can also be pre-mixed together in a solution. This is cupric and ferric solution (top), which gives a more greenish tinge, next to the layered sample.

Here’s a video of David applying the cupric ferric solution. This is how he applied all of the patinas.
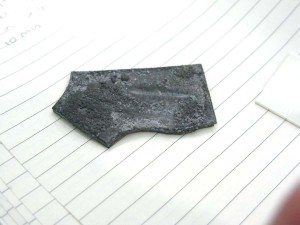
Cobalt nitrate can be used to produce a deep black.
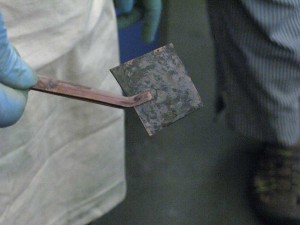
Or if applied in a kind of puddling technique can make interesting patterns.

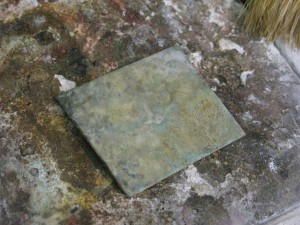
Bismuth nitrate gives a milky white-ish cream-ish finish but must be used layered with other nitrate patinas both below and above it. This is cobalt nitrate, then bismuth, then cupric ferric.
Here’s what the solutions look like, they’re all just crystals that are dissolved in water, distilled is best.
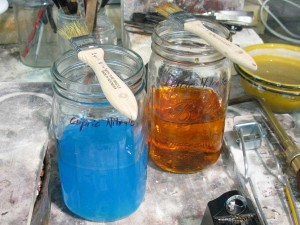
Cupric nitrate (left) and ferric nitrate (right).
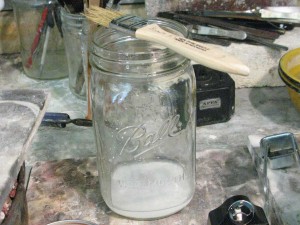
Bismuth nitrate, the solution forms a precipitate at the bottom of the container, this is what is used for patination with this solution.
David then seals his patinas with wax, which he also applies hot with a brush.
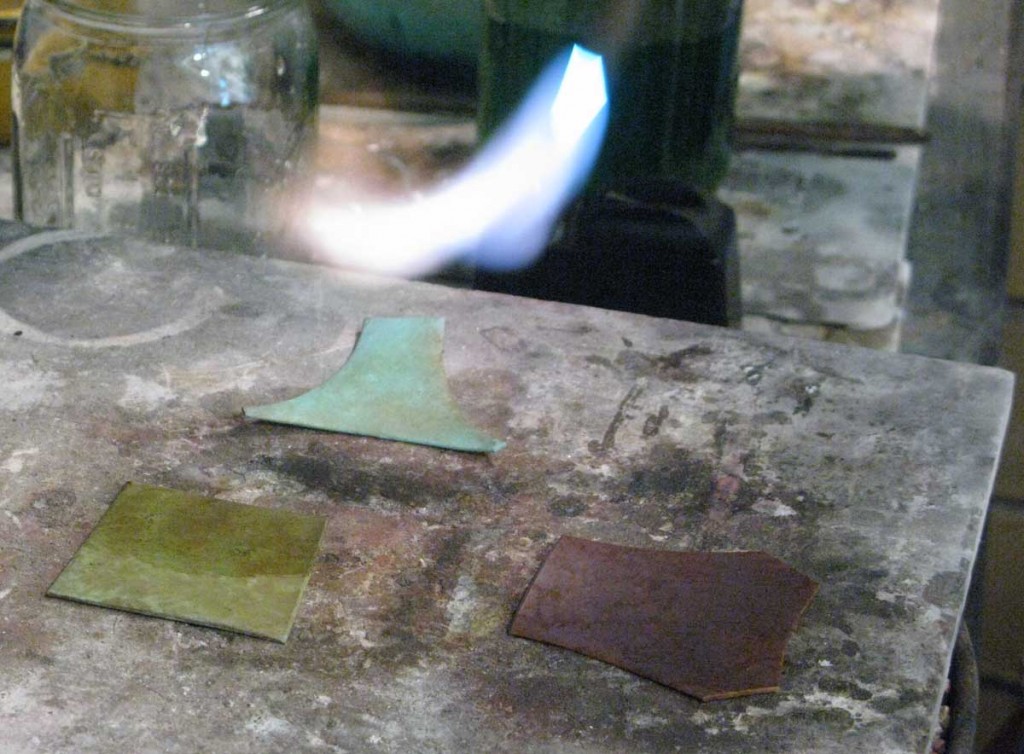
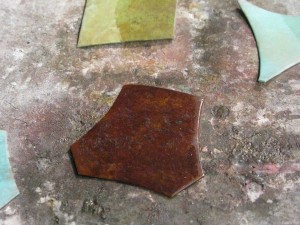
Clear wood or furniture wax will do, and it slightly alters the colours, e.g. the brown of the ferric nitrate became deeper and richer.
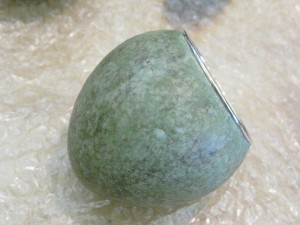
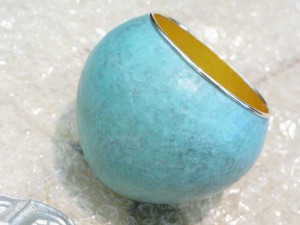
Here are some of David’s finished vessels with patinas. These are the simpler, un-chased & un-repousséed vessels, and I only post them to show the finish. I strongly urge you to go to David’s website and have a look at his other work because they really are stunning.

Cynthia Eid demonstrated fusing Argentium. This was interesting for me, as Argentium is not widely used in Australia, as far as I know its not sold there. You can order it from Rio Grande and various other American suppliers.
Cynthia Eid is a well-known artist, educator, and Argentium enthusiast. She teaches workshops in the United States and internationally in working with Argentium, anticlastic raising and shellforming. Her works are held in various collections including the Victoria and Albert Museum in London.
Argentium silver is a trademarked silver alloy incorporating the metalloid element germanium. Unlike normal sterling silver, Argentium does not develop firescale when heated and is extremely tarnish resistant. At 930 parts per 1000, the silver content is slightly more than traditional sterling (925) so it can still be legitimately stamped as sterling or specifically as 930. One of the other major properties of Argentium is that it can be fused very easily. This, in addition to its lower conductivity means that pieces can be constructed entirely with fusing, eliminating the need for solder. Argentium will also fuse easily to gold, silver and platinum. This is a pair of earrings that Cynthia showed us by fellow Argentium enthusiast Ronda Coryell of Argentium fused with 22 carat gold.
Argentium seems to be gaining popularity in the USA as I met several artists and jewellers such as Genevieve Flynn and others who, after trying Argentium, have been totally sold on its qualities and now use it frequently if not for everything. I would also be interested to try it.
To fuse Argentium, Cynthia uses My-T-Flux, but I think there are others that work too. The steps are simple, clean the metal with Scotchbrite, apply the flux, heat until the flux stops puffing up, position the piece to be fused, then apply more heat. The flux will form into liquid droplets when the metal is approaching fusing temperature, you can see the fusing happen because it looks pretty much like solder flowing at the joint; that shiny, sweaty, silvery liquid-y look. Don’t pick up Argentium with tweezers when it’s red hot or the temperature shock can cause it to crack. Always let it cool before you touch it.
Because we were all watching in a group I wasn’t able to get photos of the exact moment of fusing, so you’ll just have to use your imagination.
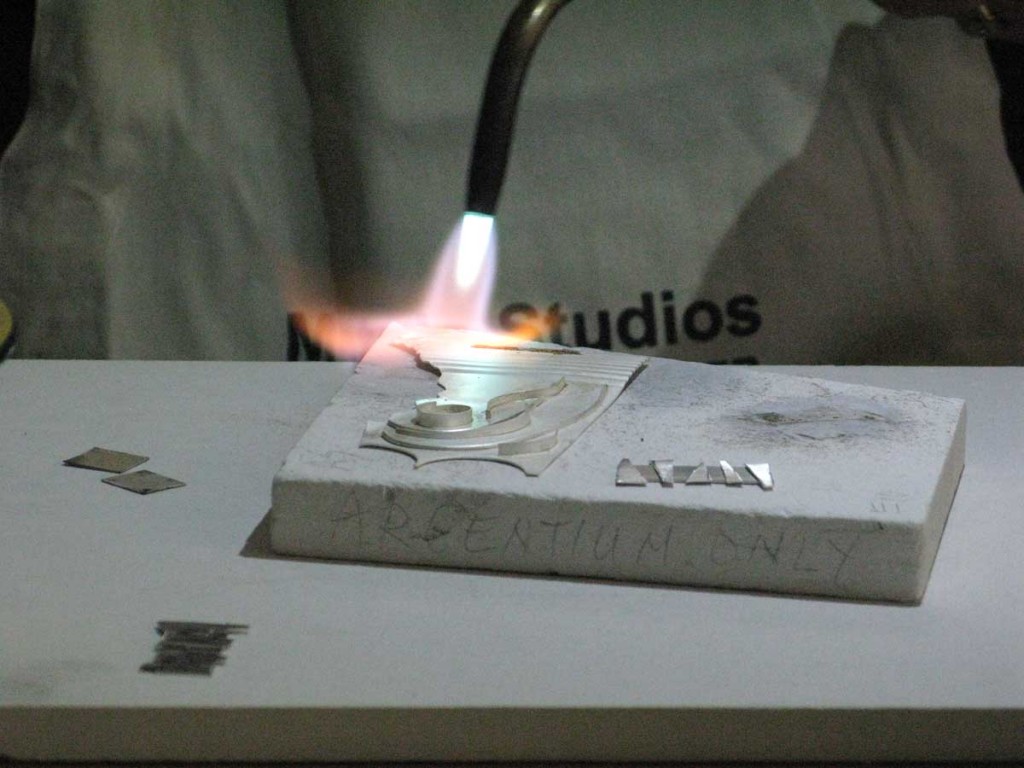
Cynthia demonstrates fusing small pieces onto sheet.
Cynthia said she does still use solder for some things. Pieces she terms ‘high risk’, with lots of joins and lots of labour, she will turn to either medium but mostly easy solder for subsequent joins.
Apart from its sensitivity to temperature shock there are a couple of other things to note about working with Argentium. Argentium only needs minimal annealing and does not need to be heated to the dull red colour as for sterling. To anneal, make a mark on the metal with a black Sharpie permanent marker (according to Genevieve Flynn, who also uses Argentium, it has to be Sharpie brand) then heat the metal until the ink from the marker turns transparent, which happens very quickly, then the metal is annealed. Also after the piece is finished it needs to be heat treated to produce the germanium oxide that will prevent tarnishing. Put it in a kiln at 304ºC (580ºF) for 45 minutes or at 176ºC (350ºF) for 2 hours.
Cynthia has written a fantastic article about working with Argentium where she goes into all of it in detail, you can download it from her website. Or if you’re too lazy to read the whole article then she has a condensed list of Argentium tips on her site on this page. Ronda Coryell also has several interesting videos on her site about the properties of Argentium that are definitely worth a look.
Caitie Sellers’ demo was demonstrating her technique of soldering steel. Caitie Sellers is a talented emerging artist who’s works are inspired by her experience as a volunteer in Guatemala. She references the intricate architectural ironwork she saw there in her wearable pieces. She also makes three dimensional drawings in wire, which really convey the look of a sketch hovering in the air. Her works are primarily made of mild steel binding wire, in various thicknesses, and silver, all soldered together with silver solder.
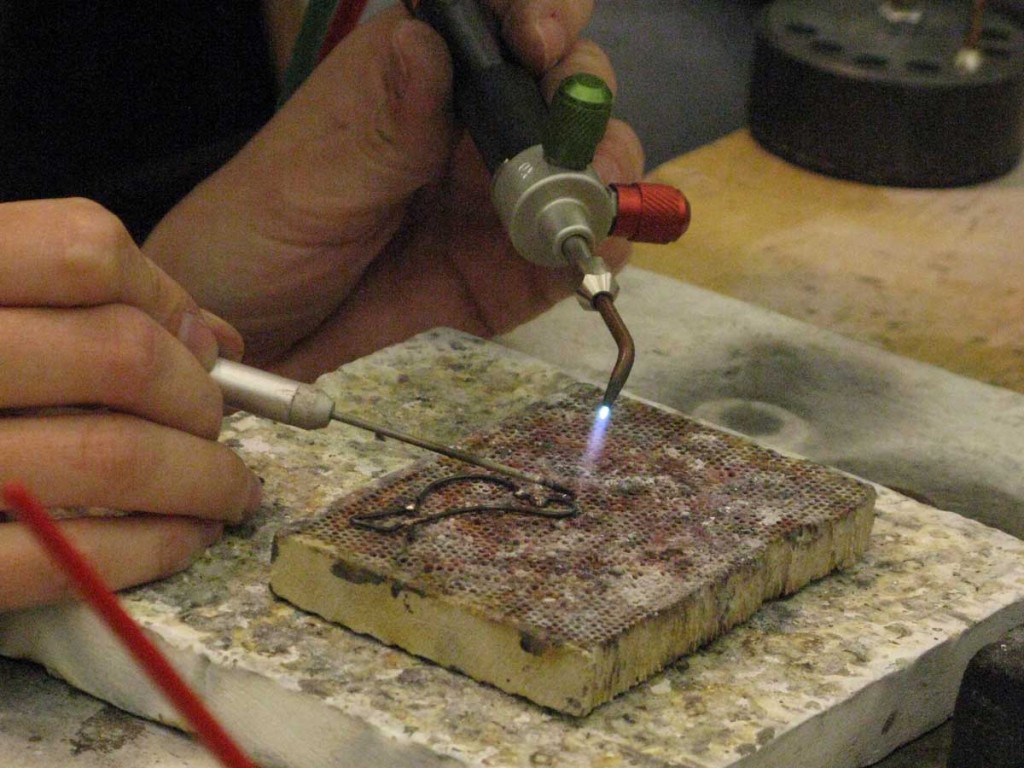
First she removes the carbon coating from the binding wire with emery. Caitie uses extra hard solder, and this really noxious looking black flux. Just a tiny dab right on the join because its a bitch to get off, (there’s another flux called Stay-Silv that she prefers). She uses a micro torch (Smith Little Torch) to get a small hot, tight flame.
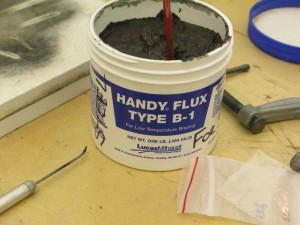
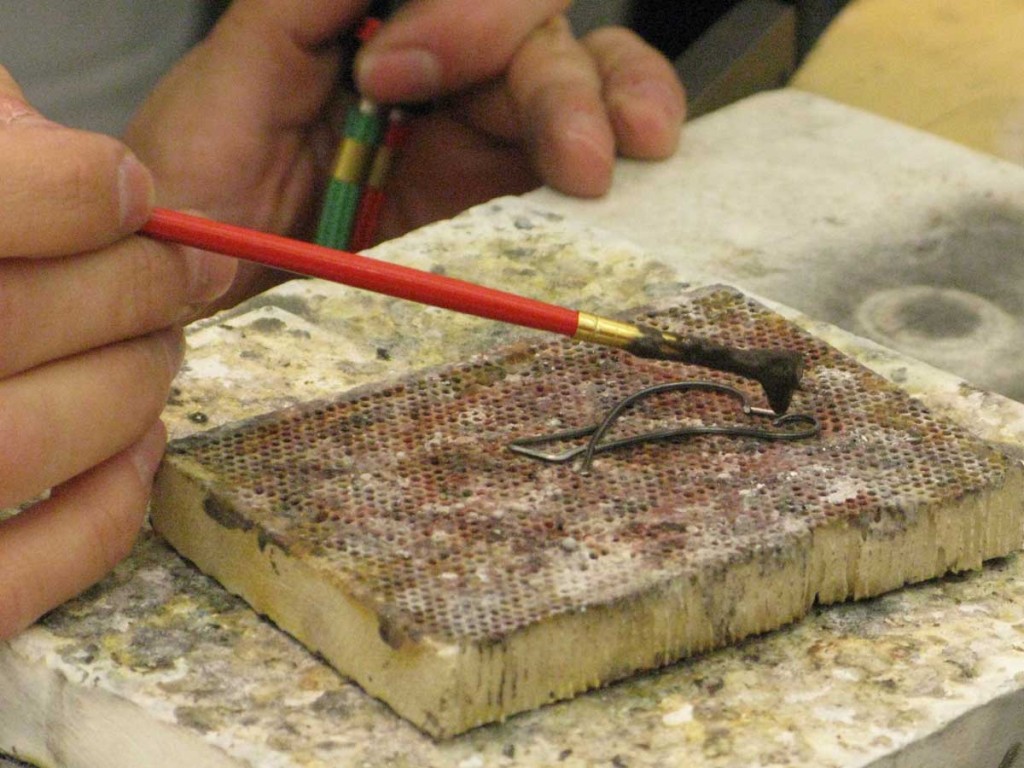 For joining thicker guages of binding wire she just stick solders with the solder wire to flood the joint.
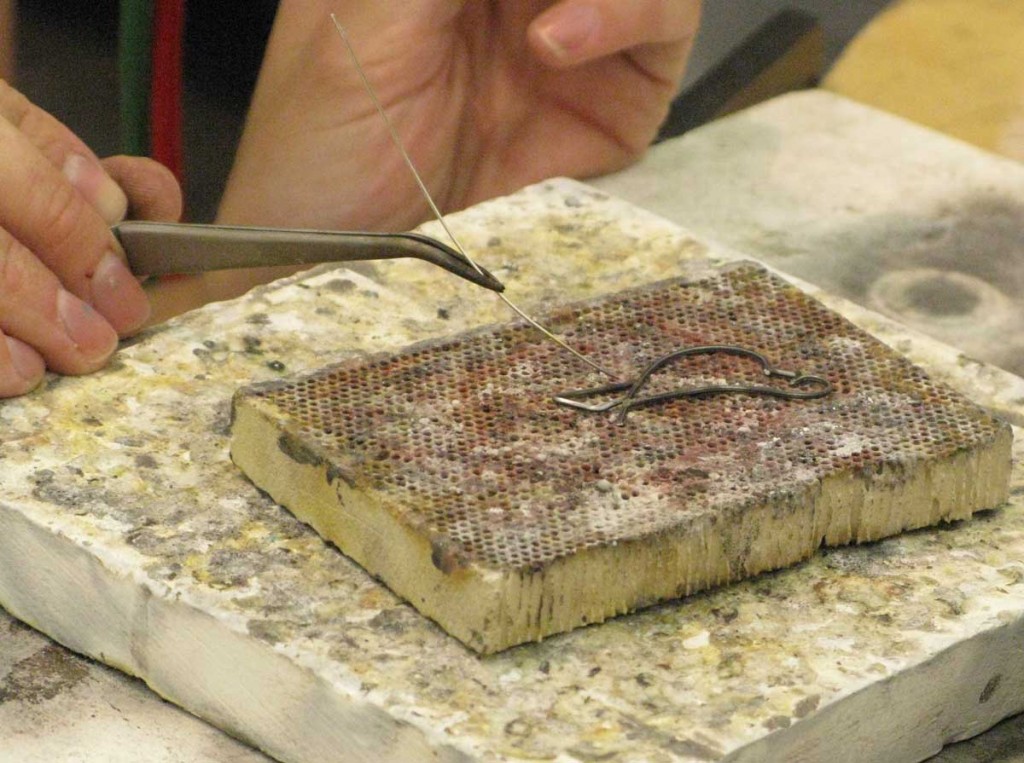

To join very fine wires she used tiny pallions and a titanium soldering pick.
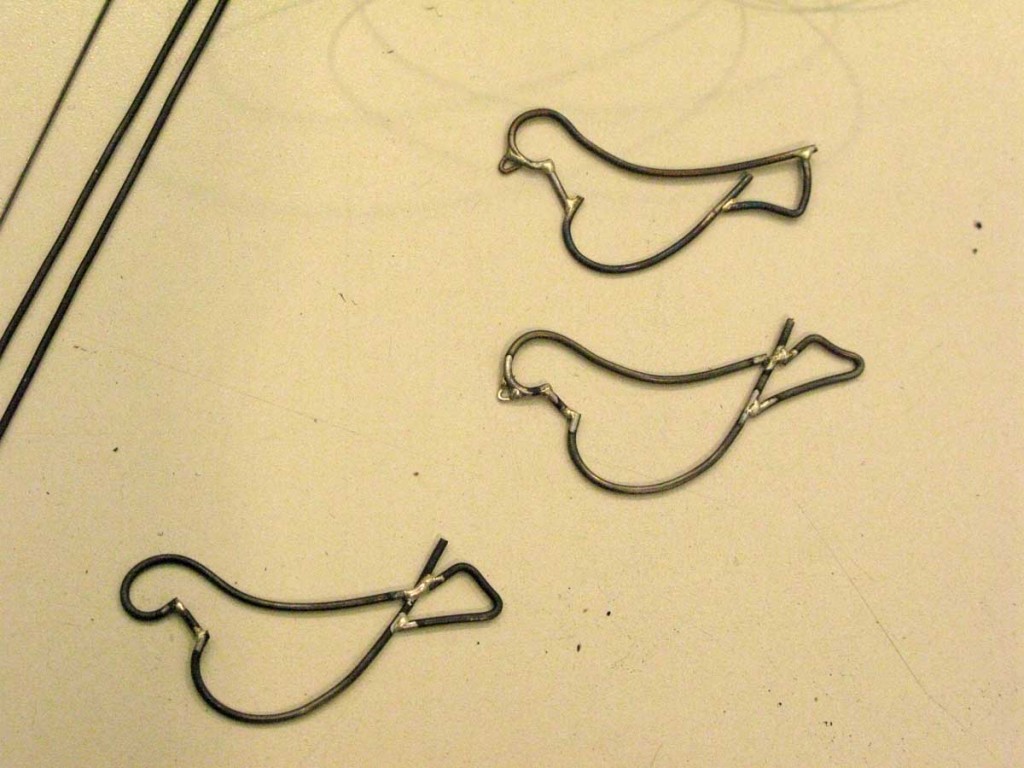
 Caitie used her technique to demonstrate making these steel wire doves. She doesn’t file off the excess solder because the bright blobs of silver at the junctions of the wire is part of her aesthetic. Also, since silver solder and steel don’t make the same kind of penetrative molecular bond as silver solder on silver, the extra material around the join helps to strengthen it.
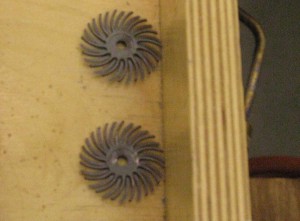
 She does remove the flux with acetic acid pickle, you can’t use regular pickle or it will electroplate. She recommended these bristly rubber abrasive wheels (which I’ve been wondering what they’re for) to get all the remaining flux and heat oxides off the steel, . Caitie says they work great for jobs like this. Then she heat patinates the steel to a blue colour with her torch and seals with Renaissance Wax.
The Mesa Arts Centre also had some of the satellite exhibtions of the SNAG conference in its exhibition spaces, so we were able to have sneak peaks at them during our lunch breaks over the demo days. The Arts Centre presented no less than 5 contemporary jewellery and objects exhibitions which was impressive, as are their gallery spaces which are situated on a lower ground floor accessed by a glass and light filled stair well atrium and have ceiling of at least 4 metres high. The works were well presented, there were just a few things like unattractive lifts & supports for pieces that I wouldn’t have used. The exhibitions showing were:
Cu / 29: Contemporary Work in Copper
Crucible: 10 Years of Metals at Mesa Arts Center
eleMEnTAL: Becky McDonah, Tedd McDonah, Lynette Andreasen
Offerings–Gifts for the Muse: Work by Jan Arthur Harrell
Presidential: The Art of Leadership
SNAG Showcase: 2012 Conference Presenters
There was a lot of stuff to look at, I was particularly excited to see works by Steve Midgett whose works and writings I have followed closely while researching Mokume gane. Steve is one of the most well known Mokume gane artists currently practicing in the US.
I didn’t have any other time to explore the Mesa area, and not having a car, it was virtually impossible anyway. I did get to Pedrito’s drive through Mexican restaurant, though I walked there, and had my first chimichanga, a fried burrito, with all the side trimmings, guacamole, salsa, sour cream, hot sauce, tasty rice, refried beans, pickles. Delicious, and all for only $6! I went there both nights. I was told in New York that the Mexican would be good when I got to Arizona, seeing as the border is only 20 minutes from Tucson, and they were so right.


