Next I flew to Tucson, Arizona for the Society of North American Goldsmiths Pre-conference Workshops.
I expected it to be hot in Arizona, so I was full of bravado, thinking “I live in Australia, I can handle the heat”. However… after I had hauled my huge suitcase, hand luggage, backpack, enormous woollen winter coat and a hat on the municipal bus from the airport to town, fending off overly friendly local oddballs, while wearing black jeans and leather boots in the 40 degree celcius Tucson afternoon heat, I was totally knackered and realised that perhaps I can’t handle it as well as I thought I could.
I only had a day to spare in Tucson so I spent that time marvelling at the cacti and searching out the best tacos in town. These were at a place called Pico de Gallo, which I was told I could only go to for lunch because it was not a good neighbourhood to go to at night. They were so good I got a burrito to take away for later as well.
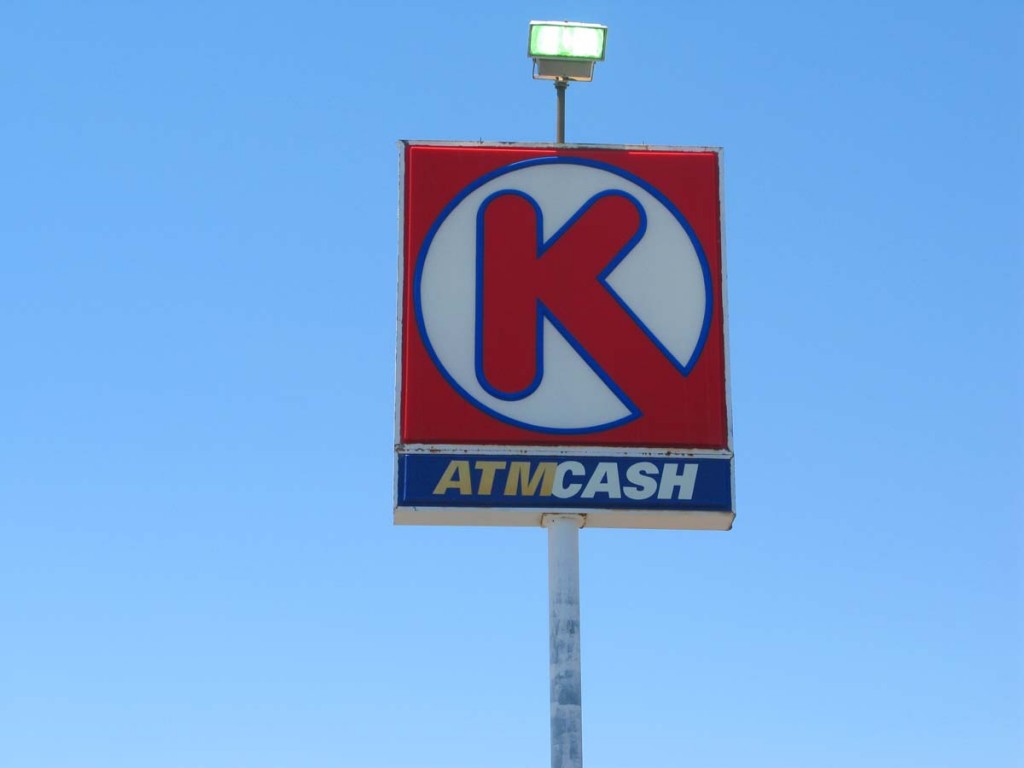
I was thrilled to find out that the Circle K chain is alive and kicking in Arizona. But I couldn’t get a great shot of one.
I also went to the Arizona State Museum where there were some really great exhibits. I have just realised that I must not have downloaded all my photos from my camera’s memory card before I erased it, as I can’t find the images that I took anywhere, which is most disappointing. Luckily the museum has pictures on their website which I have borrowed.
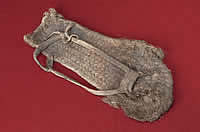
They had an exhibition of Native American basketry with some objects that were 6000 years old. The museum holds North America’s best and most extensive collection of indigenous basketry. Arizona’s unique dry desert climate is what has allowed these fibres to survive. Very few prehistoric objects made from plant and/or animal products have survived in the rest of the world because they break down much more easily than metal, stone or ceramics. Some of my favourite things were the yucca and fibre sandals and shoes.
I found the designs on the ‘man in the maze’ type baskets strangely compelling and took lots of pictures of them which are now gone. Luckily there are also lots of pictures of them to be had on the internet as well. The shots with the red backgrounds are from Arizona State Museum.
On further research into the significance of this basket design I found that they have a similar meaning to my 2010 Time is Life series. They were/are made by the Tohono O’Odham or Papago Indians and represent Life and Choice and the difficult journey to finding deeper meaning in life. This is a good page of varying interpretations of the baskets, but I liked the explanation by Alfretta Antone from the Wikipedia page best
“… when you look at the maze you start from the top and go into the maze … your life, you go down and then you reach a place where you have to turn around … maybe in your own life you fall, something happens in your home, you are sad, you pick yourself up and you go on through the maze … you go on and on and on … so many places in there you might … maybe your child died … or maybe somebody died, or you stop, you fall and you feel bad … you get up, turn around and go again … when you reach that middle of the maze … that’s when you see the Sun God and the Sun God blesses you and say you have made it … that’s where you die.
“The maze is a symbol of life … happiness, sadness … and you reach your goal … there’s a dream there, and you reach that dream when you get to the middle of the maze … that’s how I was told, my grandparents told me that’s how the maze is.”
The museum also had a really great section called Paths of Life on the history and culture of the Native American cultures of the South West, the Seri, Tarahumara, Yaqui, O’odham, Colorado River Yumans, Southern Paiute, Pai, Apache, Hopi and Navajo. The exhibition was navigated via a series of vitrines with dioramas, artefacts, photographs, oral histories in both text and audio formats and videos. For each culture it was organised as Origins, History and Life Today and was really engaging.
Also on the University of Arizona campus in Tucson is the Centre for Creative Photography, which I was interested to visit because it was founded by, and houses a large collection of works by one of my favourite photographers Ansel Adams. I was a bit disappointed to find out on arrival that his works are not on permanent display. I should have done my homework. Instead there was an exhibition of photographic responses to Los Angeles.
Anyway onto the learning…
The workshops were organised and hosted by Arizona Designer Craftsmen and I have to thank them, in particular Jeanne Jerousek-McAninch, for taking me under their collective wing as the lone Australian. I was offered many lifts by many generous people, and given lots of great advice and tips on places to visit. ADC also provided heaps of snacks for the workshops, there were mountains of bagels, and varieties of cream cheese, sweet biscuits, & litres of real coffee. The workshops were at Tuscon Metal Arts Village which was a great place, although a long bus ride and walk down one of those hot Arizona straight roads for me (I began to see why no-one walks and people kept wanting to drive me places). Anyway the village is a group of interconnected but separate studios that are rented by artists and used as learning spaces, it also has a cafe.
The first day’s workshop was with Marilyn da Silva who is well known for her metaphorical works of small sculpture, vessels and jewellery featuring birds and her technique of applying colour to metal with coloured pencil. She is the professor & chair of the Jewelry / Metal Arts Program at California College of the Arts & her works are held in numerous public collections including the National Gallery of Australia. She generously shares her knowledge about surface treatment in her workshops.
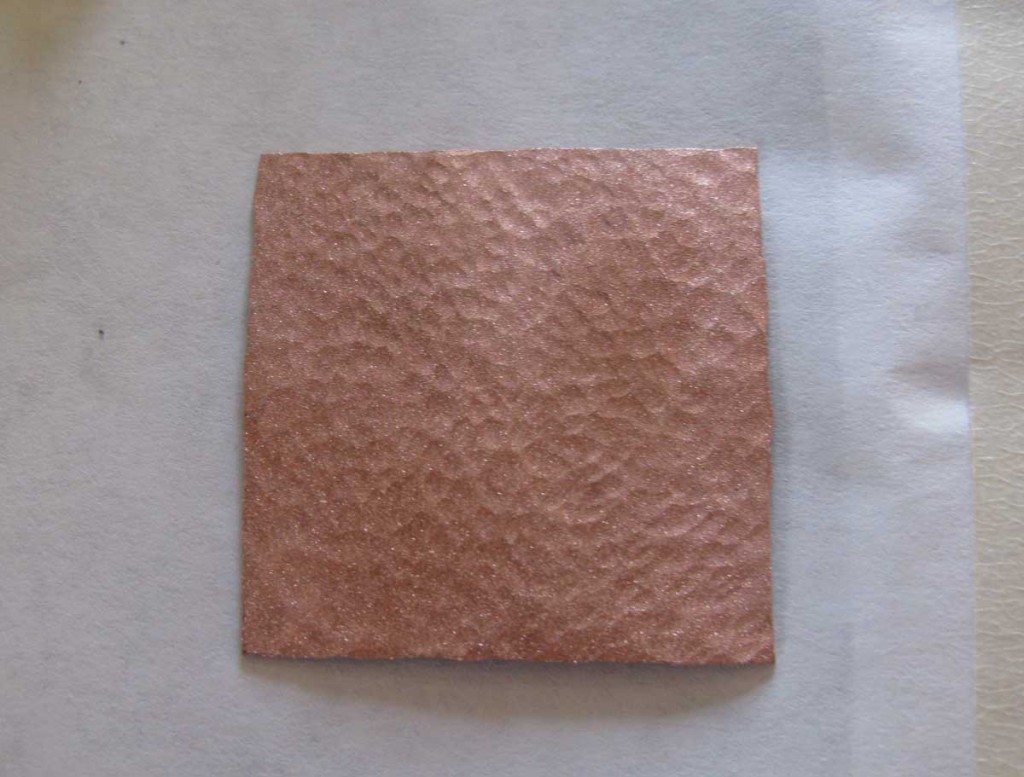
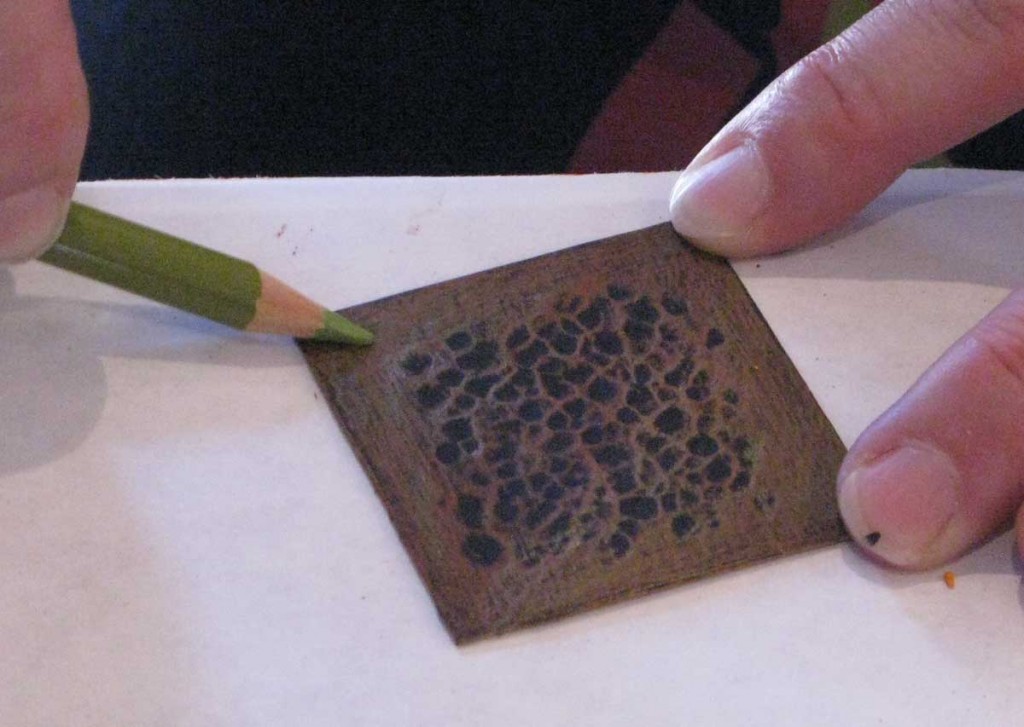
To learn Marilyn’s technique we each had to bring 20 sandblasted and textured small squares of copper sheet that would be our sample tiles.
To begin Marilyn always blackens her metal with liver of sulphur. Even though the coloured pencil finish is quite resistant to abrasion once it has been sealed, Marilyn prefers that the metal underneath is a darker colour just in case anything should wear or chip off.
Next she paints a layer of gesso onto the metal. The gesso can be any colour, we experimented with white, black, grey, brown, clear and even gold. The gesso needs to dry well before anything further is put on top, but half an hour baking in the relentless Tucson sun was enough.
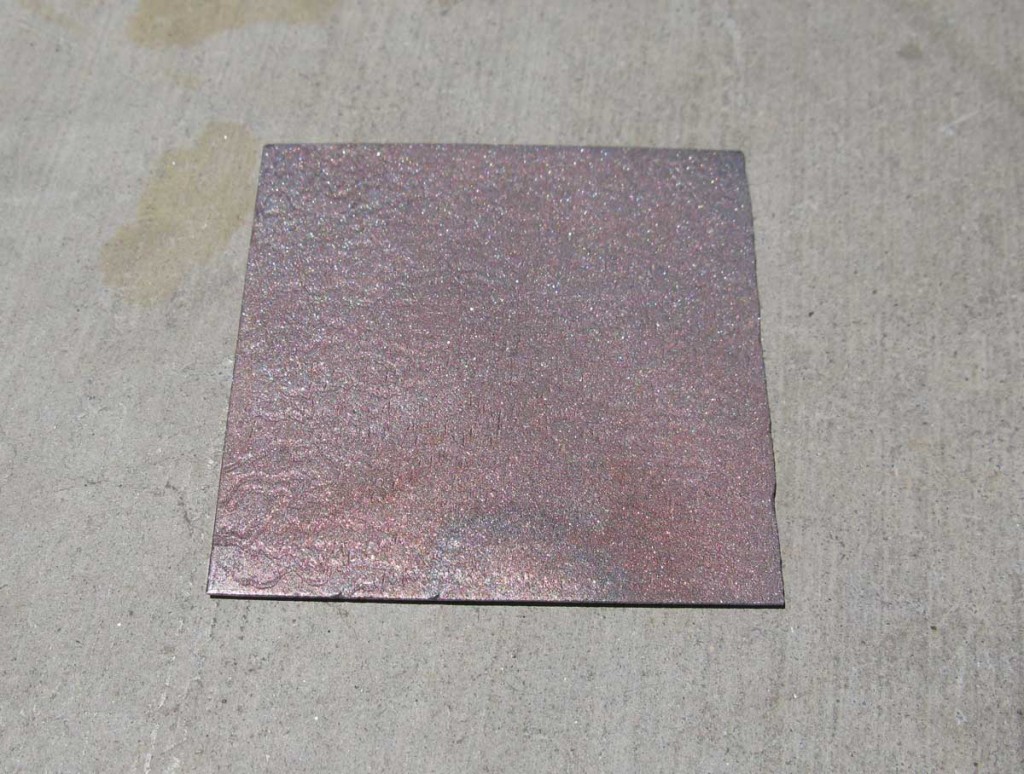
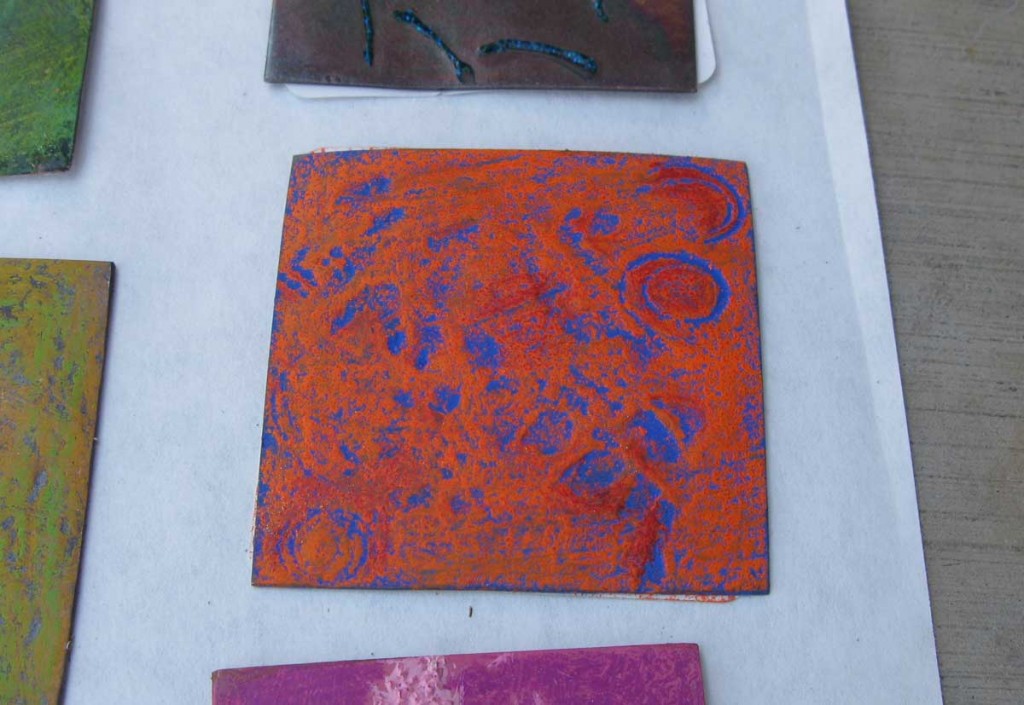
Then you can start to apply coloured pencil, you can layer on as many colours as you want, until the surface gets too slippery to continue. Then, if you want, you can paint some turps or Turpenoid (odourless turps) over the pencil which will break down the waxiness a bit and allow the surface to take more colour.
Marilyn mostly uses coloured pencil in her works but from her experiences doing workshops she has found that there are few limits to the kinds of materials and media that can be used after the gesso has been applied.
In our class people experimented with ink stamps, gel pens, puff paints, gold and silver foil, markers, and colouring the gesso with acrylic.


Marilyn applying gold foil over sizing.
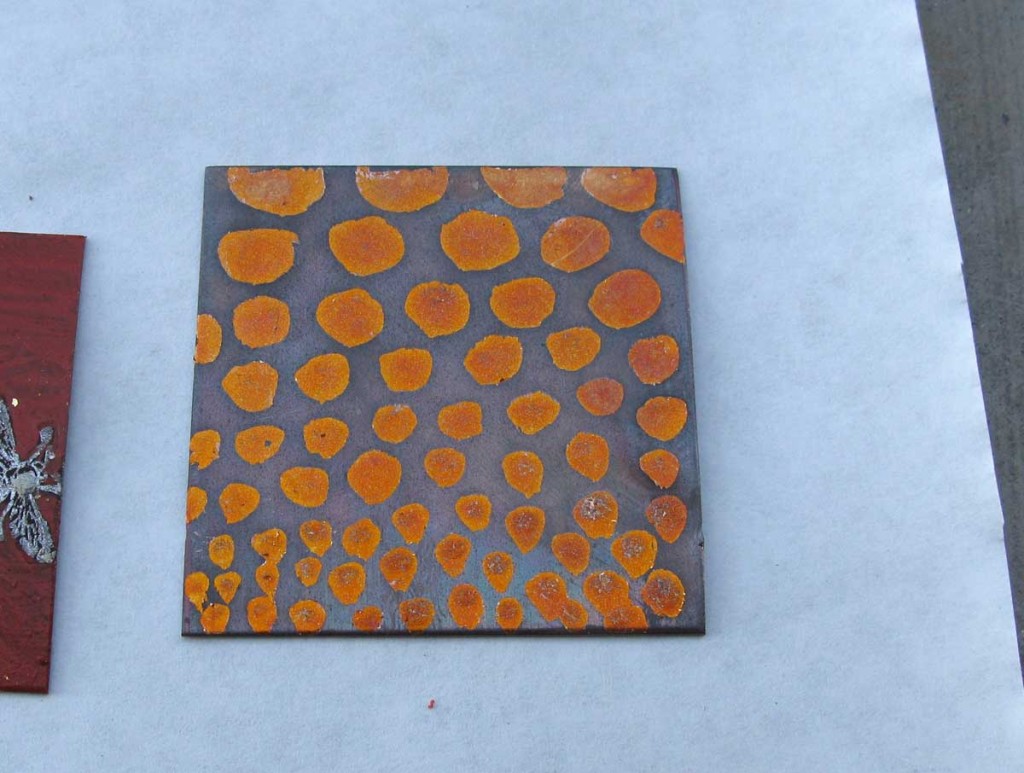
The gold foil over sizing was then liver of sulphur dipped.
Texturing the metal can have interesting results as can using the gesso to paint texture onto the metal. Texture can also be created by mixing sand with the gesso, not having any sand I used some dirt from the yard for my sample with both white and grey gesso.
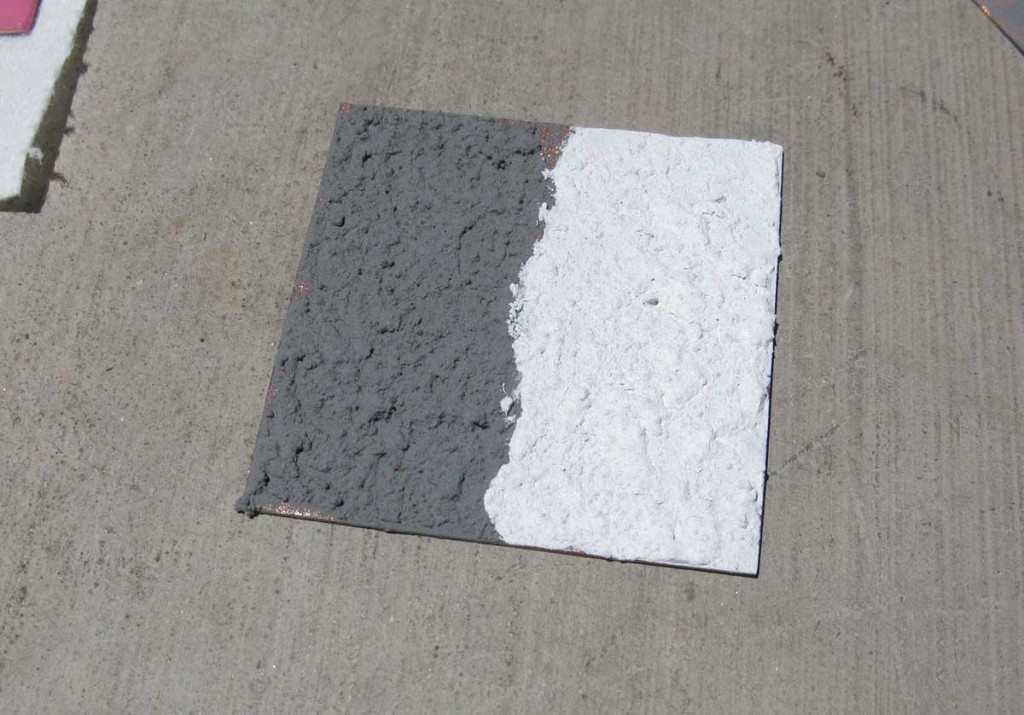
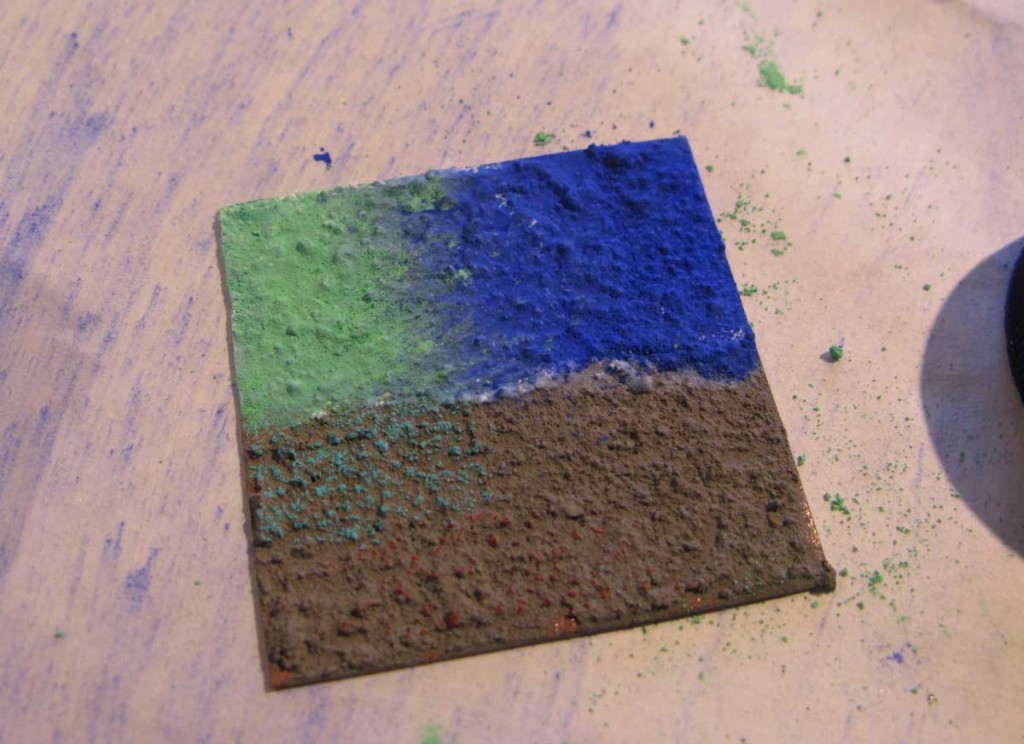
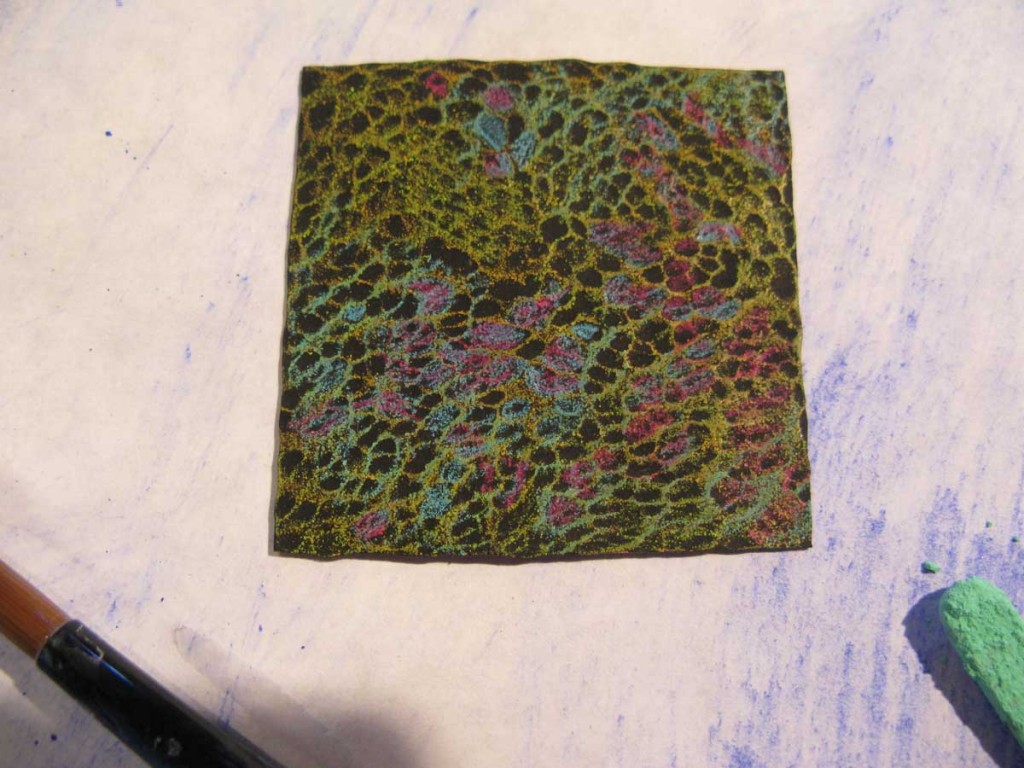
black gesso with coloured pencil
To finish Marilyn simply seals the metal with a matt fixative. Even though in our workshop we mostly applied our colours over gesso Marilyn has found that she can also apply coloured pencil directly onto sandblasted metal and then seal with fixative to finish her pieces.
ADC also made a video of the workshop which you can see on You Tube here, and yes I’m in it.
The next day the workshop was in anticlastic raising with Marilyn’s husband Jack da Silva who is a master silversmith, raiser and teacher known for his innovative teapots. I couldn’t find any information about where Jack currently teaches but this is a nice article about Jack and Marilyn on Ganoksin with an image of one of his amazing teapots and I think this is his website although there’s not much info there.
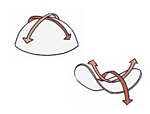
Anticlastic means a form with two curves going in opposite directions. Here’s a handy diagram to explain, the top dome shape is ‘synclastic’ the bottom shape is ‘anticlastic’.
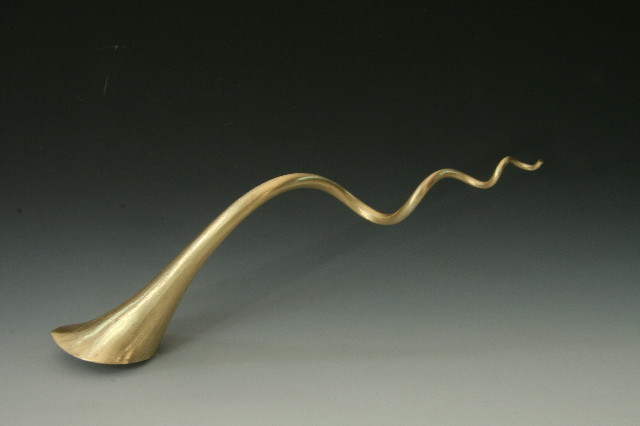
First Jack taught us to make a spiculum, which for the uninitiated is a tapered and/or curved tube. Spiculums (spiculi?) can be used when fabricating hollowware, they can be handles, and spouts or in jewellery as bracelets, neck torques or just simply interesting shapes. Obviously it would cut down on material costs to make a hollow shape as opposed to trying to make the same shape in solid metal. Here’s a really nice spiculum from Ganoksin.
A variety of tapered and curved spiculums and anticlastic shapes of Jack’s: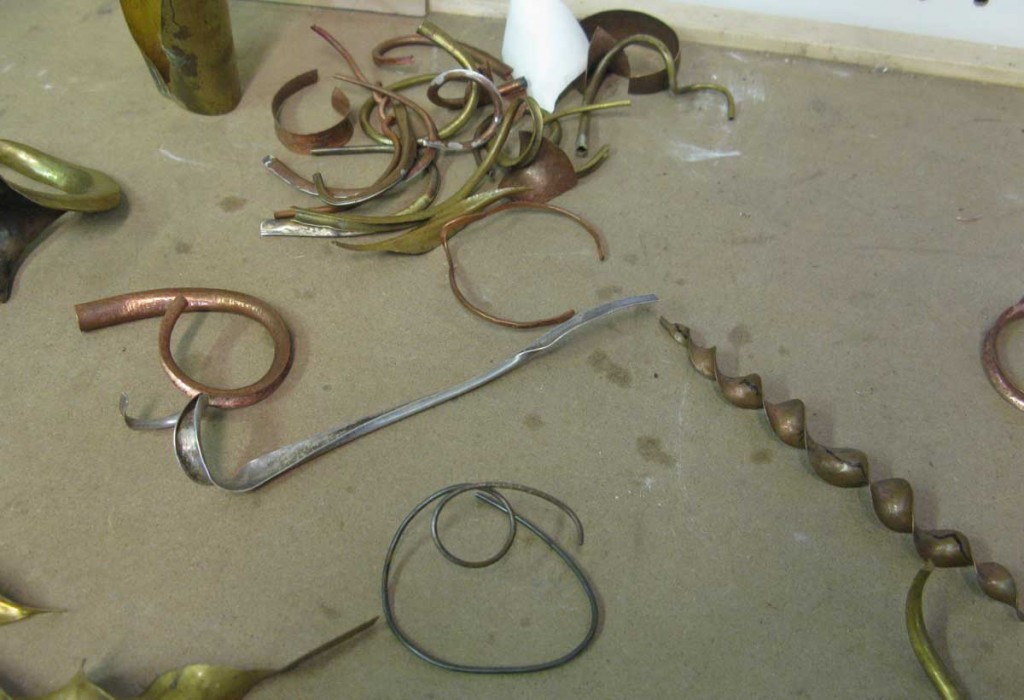
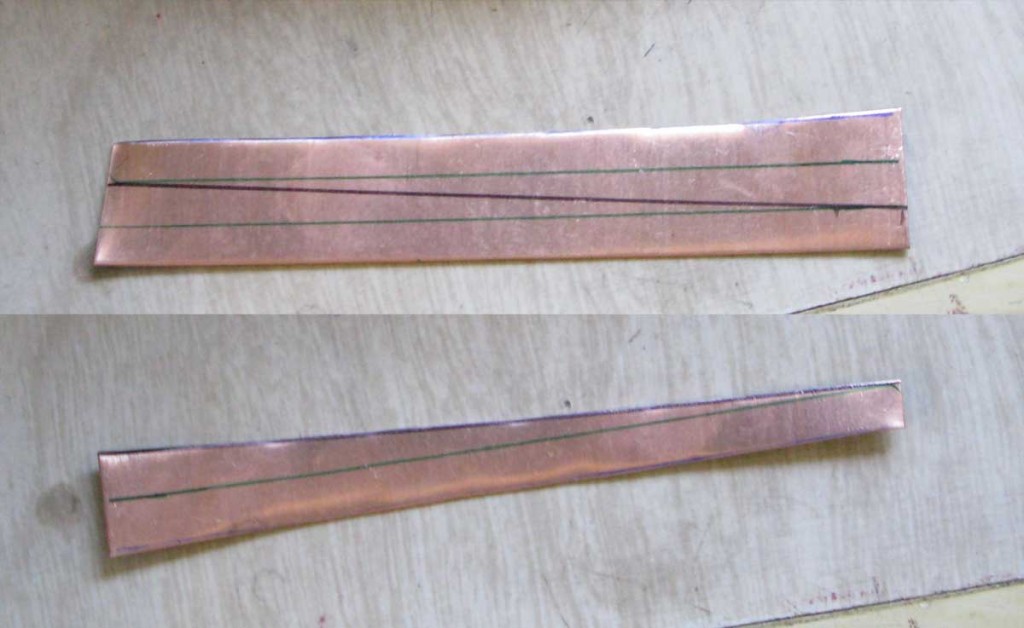
There are a variety of templates that can be used to cut the blank shape, from tubes that taper at one end, to tapering at both ends, or flaring at either or both ends. We cut ours from fairly thin copper, it was 0.5mm or 22ga thickness. We divided a 1 inch strip into 3, then cut across the middle portion diagonally with shears. Then we annealed it.
Jack showed us a cool forming block that he made just by drilling holes into wood and then cutting it in half.
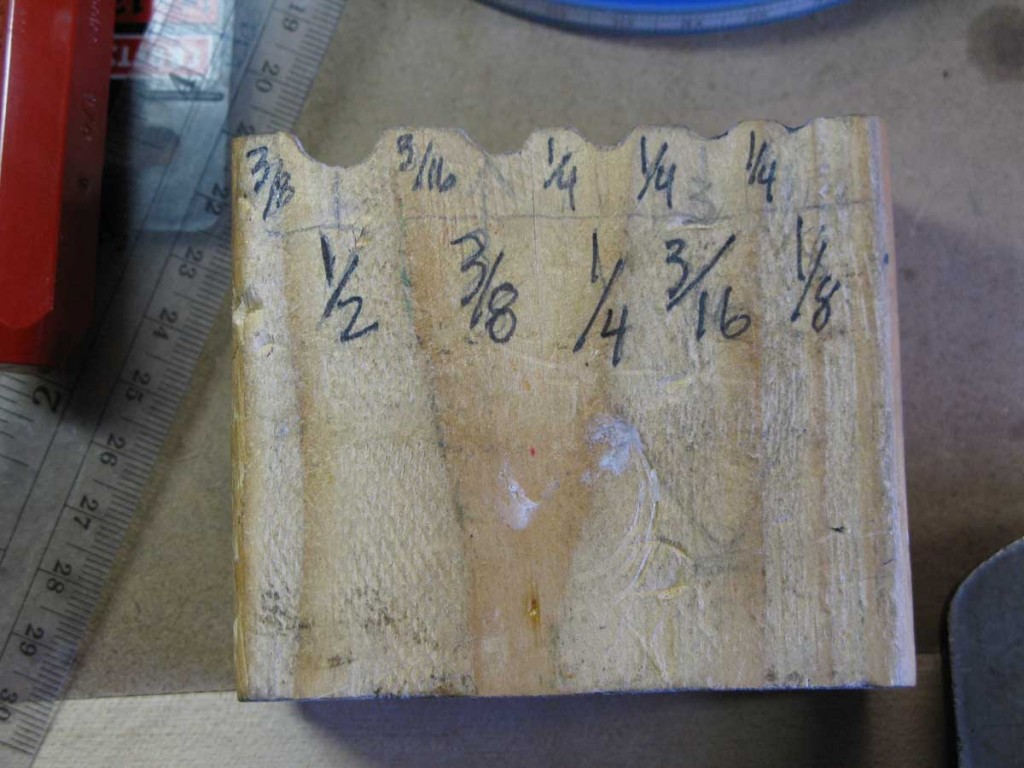
All measurements are in inches, the large numbers are the sizes of drill bits and the small numbers are the sizes of the gaps between the holes.
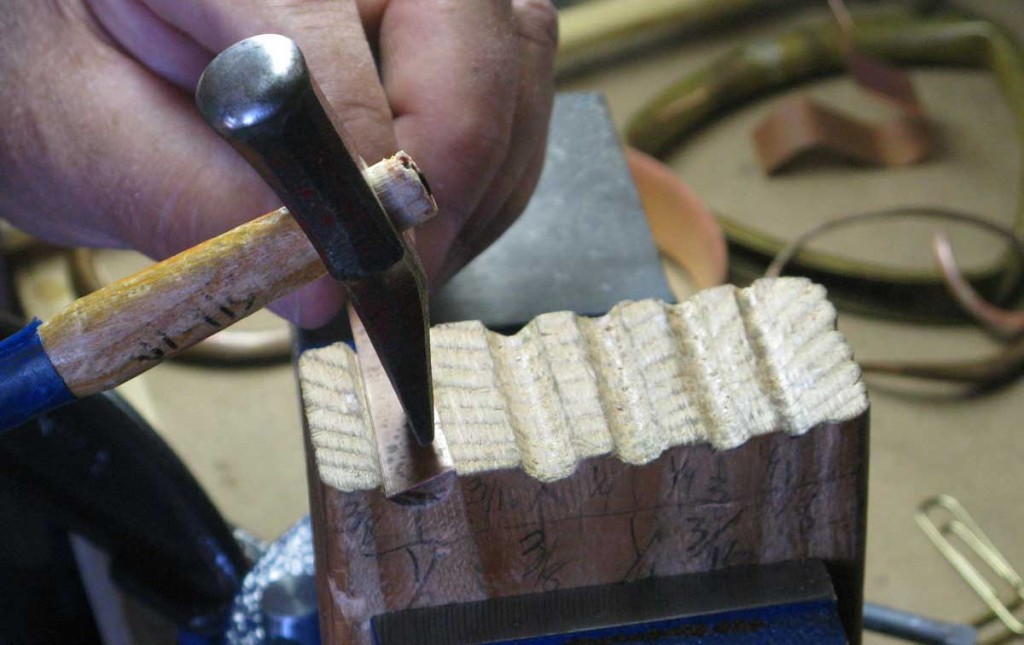
We used fairly standard small goldsmithing hammers, with a gently rounded flat end and a rounded narrow cross peen end.
You start forming by holding the shape in the largest furrow of the forming block with one edge of the metal parallel to the edge of the furrow. Then hit lightly with the cross peen end of the hammer, just inside the edge of the metal, just below where the metal is supported by the block, alternating sides, and at the beginning only at the wide end.
Proceed by hitting in overlapping rows parallel to the long sides, gradually hitting closer and closer to the middle of the metal and taking the blows all the way to the narrow end. Repeat for the narrower furrows, until the metal is an even U shape.
Then start to close the tube. This is done by lightly hitting the outside of the U just above the end of the curve with the flat end of the hammer.
The objective is to form a shape with an oval or teardrop shaped cross section. This is to assist with bending the tube.
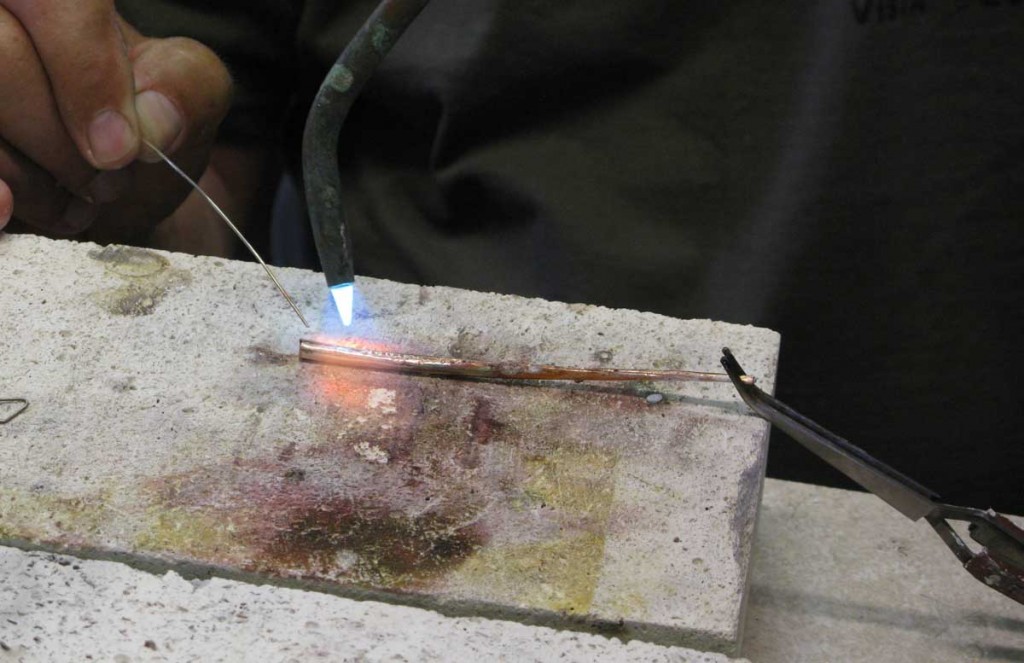
Once the two sides have been brought together the tube can be soldered.
The tube can now be bent with hands, but only in the direction of the longest axis of the teardrop, this means that as the tube flattens along the bend it becomes round. If you want to continue bending, anneal and then form the curved tube into another egg or oval shape with a hammer and bend again. Here’s how mine turned out:
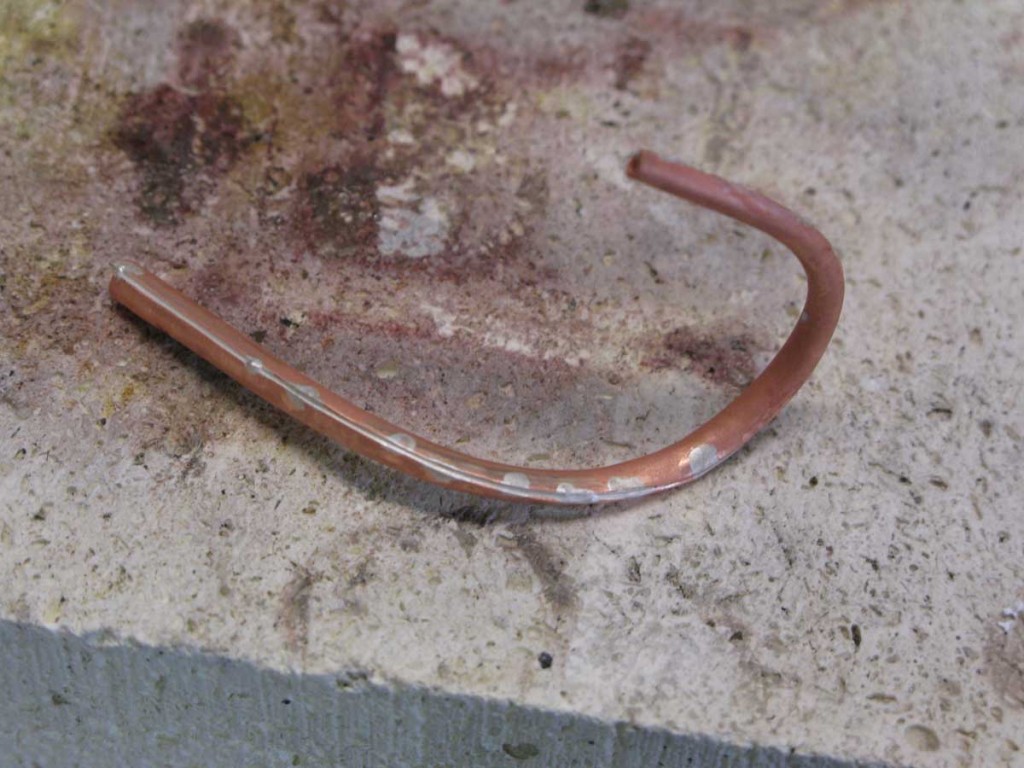
Yeah, yeah, I know, atrocious soldering, I know – just remember: ‘its not bad, its just different’.
Here’s a wee lesson from Tim McCreight on Ganoksin about making spiculums and anticlastic raising with good diagrams.
Jack also showed us very basic anticlastic raising techniques using sinusoidal stakes. I’d always wondered what those wiggly stakes were for.
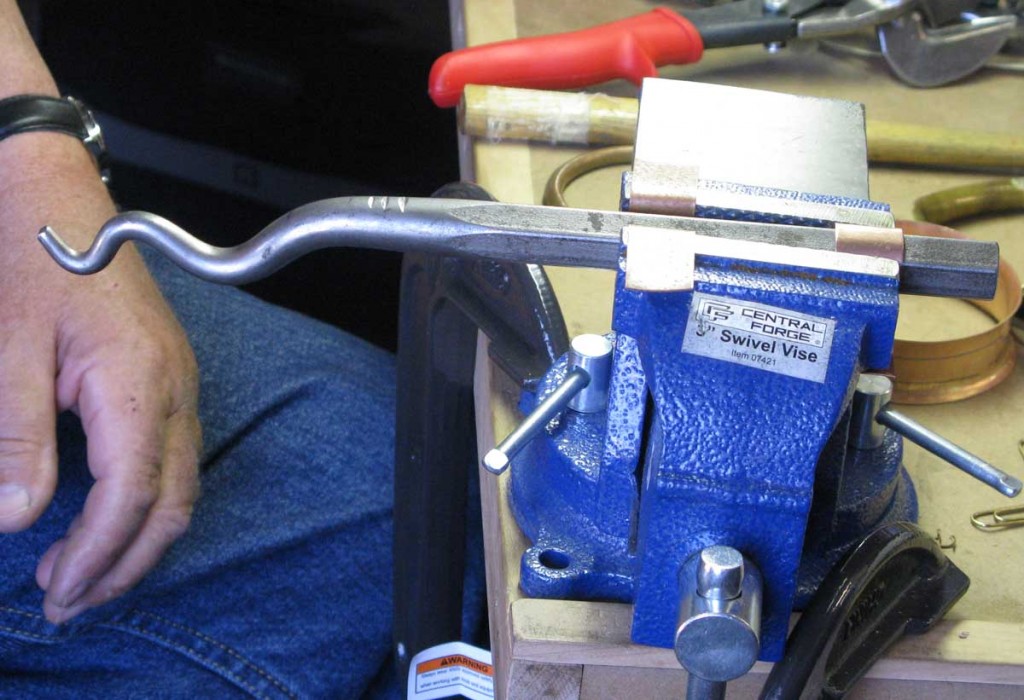
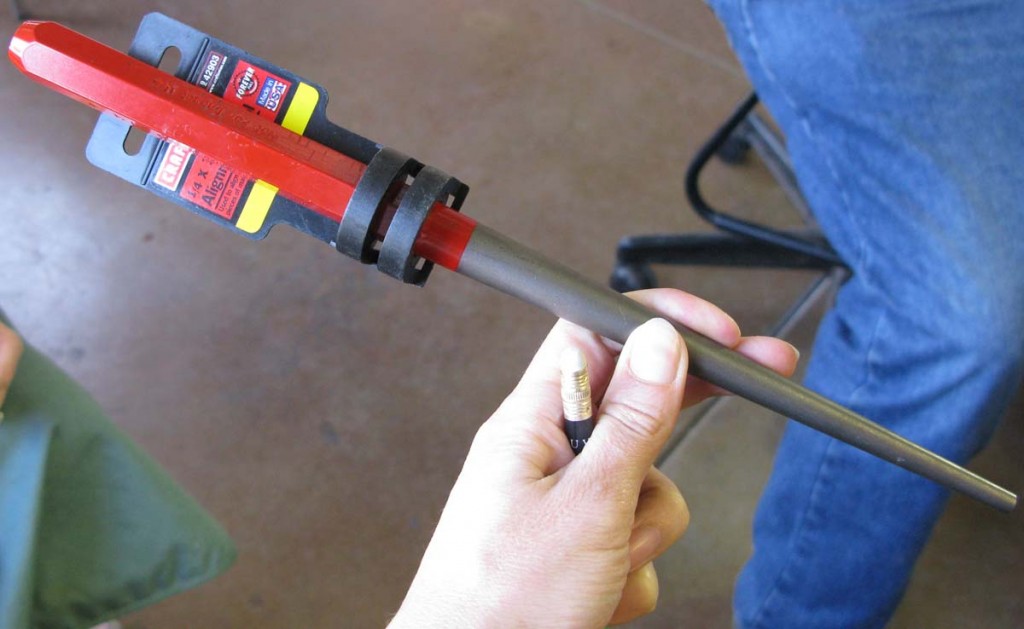
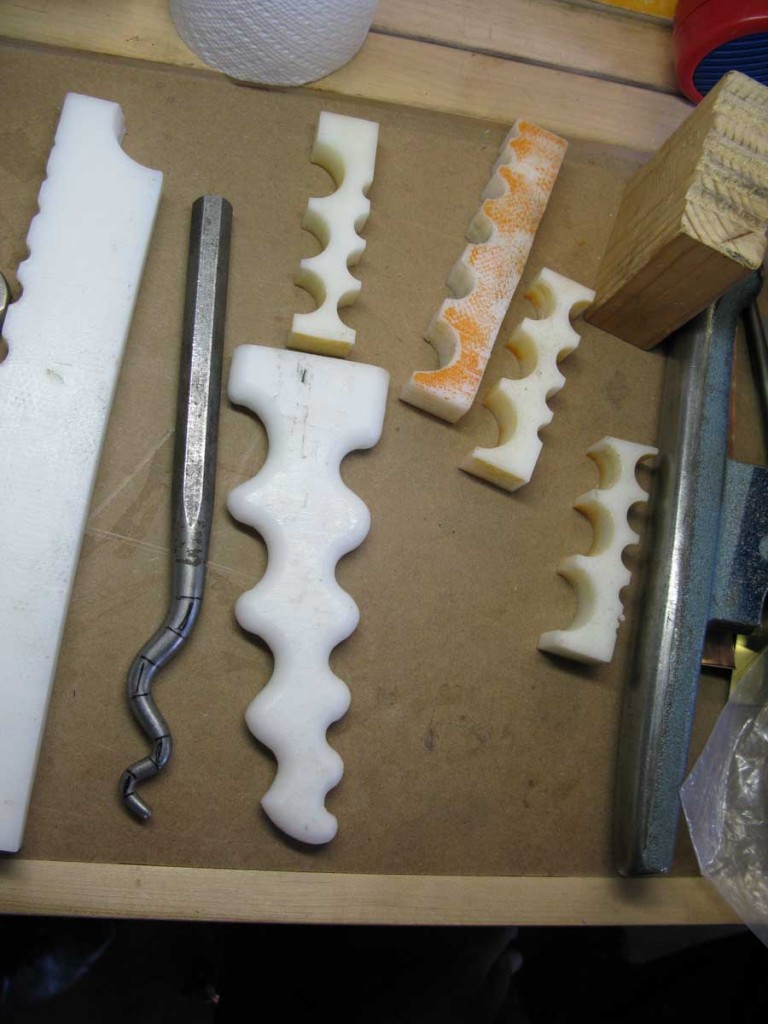
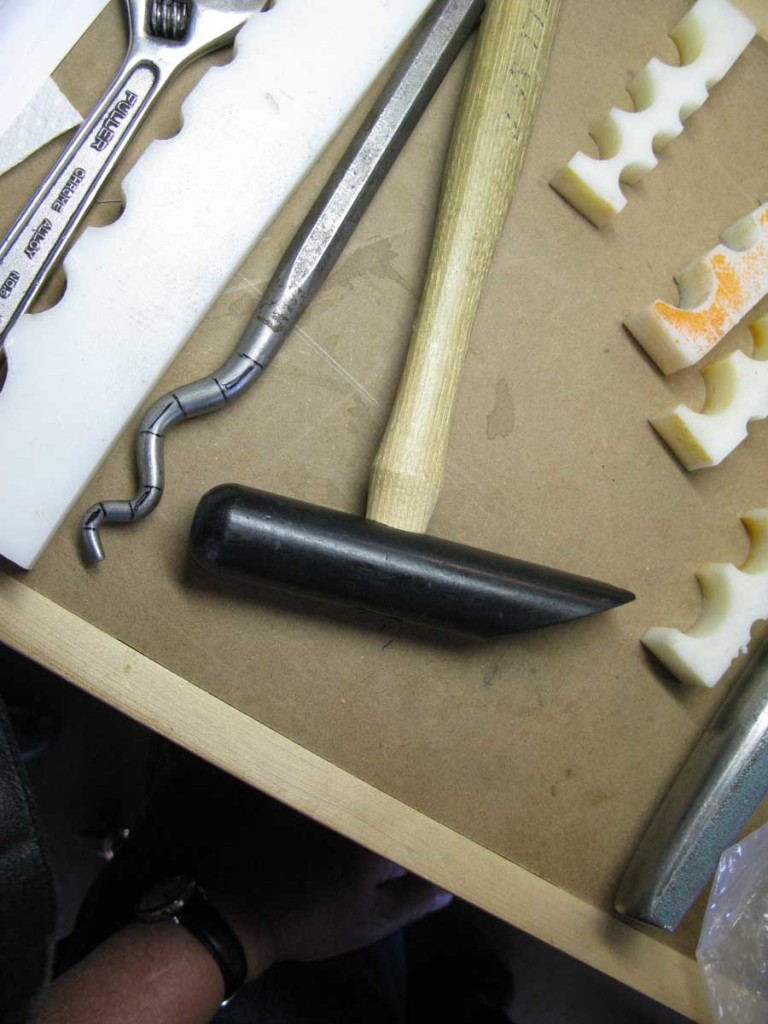
He explained a way of making your own stake for a lot less money than buying a ready made one. Starting with this tool, which is apparently available from hardware stores, heating it to orange and making the bends yourself. Here’s a good tutorial pdf that I found that you can download.
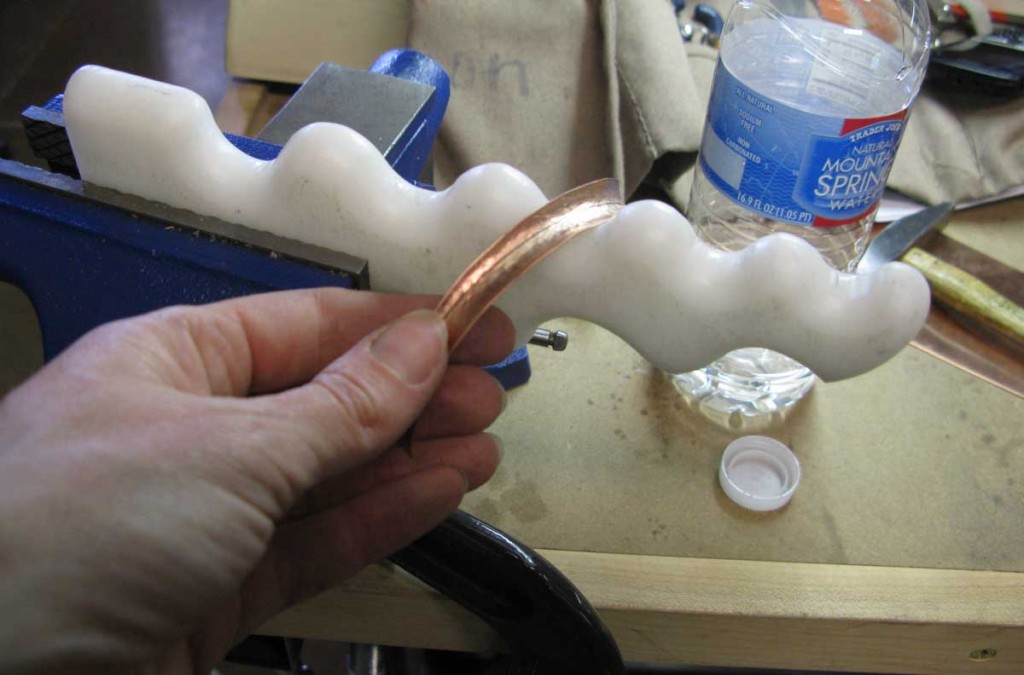
If that sounds too hard you can also make one from Delrin. The radius of the curves just has to get gradually smaller, if all the radii are the same then the stake won’t work (FYI Delrin is a hard tough plastic, a lot of kitchen knife handles are made of it).
Either Delrin or metal hammers can be used with metal stakes, but Delrin hammers don’t work too well with Delrin stakes, too much rebound, so only use metal.
So the first thing was to curve a strip of metal 1 inch wide. You do this by bending the metal with your hands into a curve then hammering over the widest curve in the stake in a similar manner as the spiculum was hammered, i.e. hitting just below the point at which the metal is supported by the stake. I randomly found this webpage which has some good pictures and instructions (thanks Michael Good!).
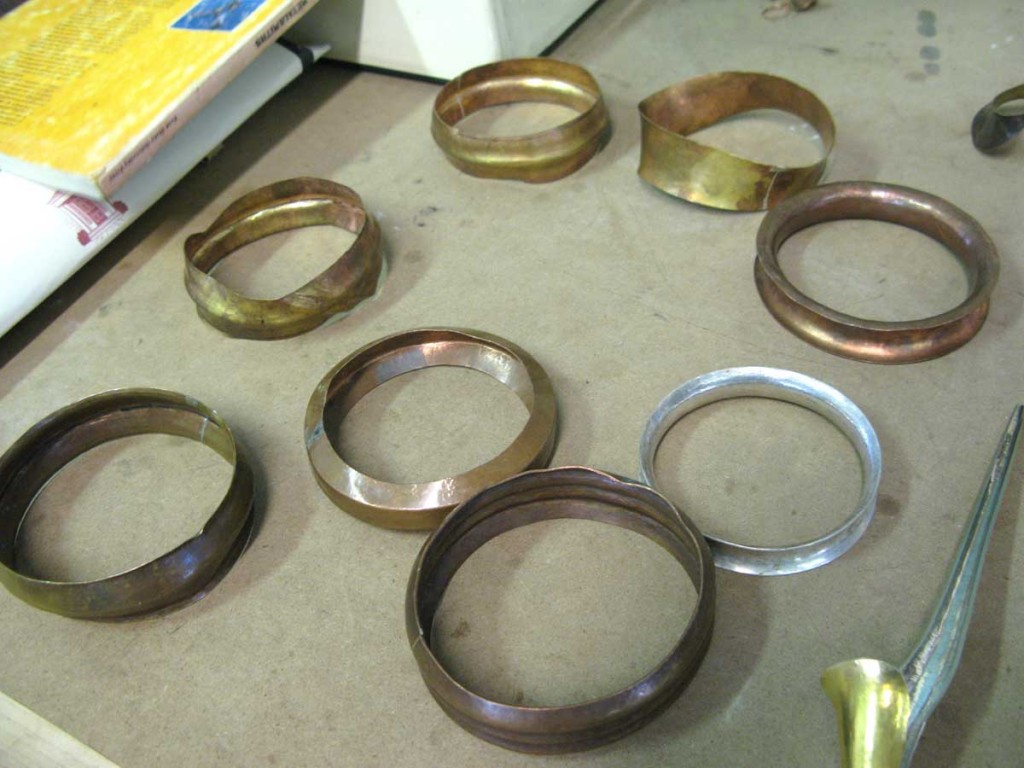
and once again, hammer in rows closer and closer to the centre and progressing to smaller and smaller curves on the stake. The curve going over the stake will want to flatten out as you go so you need to keep bending it back around. To make a hollow or flared bangle you just start with a strip with the ends soldered together like a cylinder.
You can also make grooved bangles with this method.
The next technique Jack showed us was how to make twists like these:
To do this he twisted the strip of metal by hand a few times then hammered it diagonally over the sinusoidal stake. He was concentrating the blows on the edge of the strip, which stretches the edges and forces the metal to twist. He kind of used his hammer to ‘push’ the metal by sort of glancing the blows off and around the stake, if that makes any sense. I took a video of it as well.
Jack da Silva Anticlastic Raising Twist Demonstration from Danae Natsis on Vimeo.
ADC also made a video of Jack’s workshop which you can see here.
